Growing Garlic
Garlic is perhaps the easiest vegetable to grow. If you have the space, here are the steps:
- Prepare the soil in mid September (as always, a raised bed works best).
- Right around Columbus Day (it can be even later) plant the cloves (pointed side up) about 4" deep, 6" apart.
- Cover with a thin layer of straw or your favorite mulch.
- When the ground freezes hard, cover the bed with 4" of mulch.
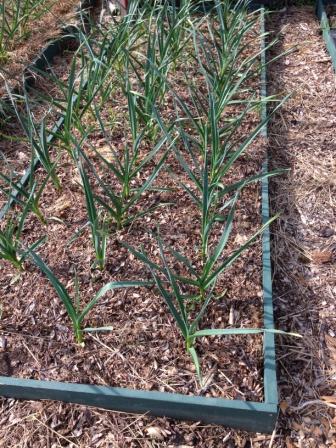
- In the spring (late March or so) pull back the mulch.
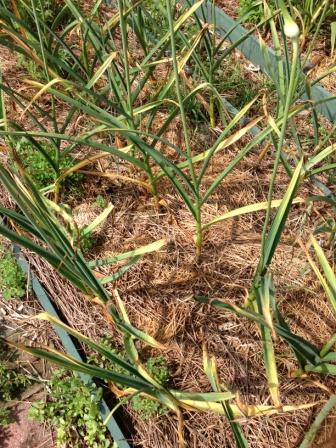
- Around Independence Day the tops of the garlic will be turning brown. It’s time to harvest. Carefully remove the bulbs from the ground (a pitchfork works well to loosen the soil so you can gently remove the bulbs from the ground).
- Dry in a dry, warm location for a few days. Avoid drying in mid-day sun.
- Cut off the stalks and store the bulbs in a cool, dry location.
- Save the largest bulbs and use the cloves for your next planting.
Notes
- The soil pH should be in the 6-7 range.
- Cut off the flower buds (scapes) when they appear (usually in mid to late June) - they'll drain energy from the plant. Cook them up - they're considered a delicacy
- Garlic comes in 3 main types - hard neck, soft neck and elephant (elephant garlic is not a true garlic).
- Hard neck stores the best. Soft neck varieties are more suited to southern climates.
- You can buy your starter bulbs from the usual suspects, or attend a fall garlic festival and choose from several local varieties.
- Keep the soil cool as mid-summer approaches with mulch or companion plantings (such as lettuce).
- One of the neat aspects of garlic is that the garden space it occupies from October to July can be used for fall crops such as kale, chard, collards, etc.
Author:Paul Zimmermann